Alex Herbert was the chef and owner at the wonderful Bird Cow Fish in Sydney, and now sells ‘breakfast and stuff’ at the Eveleigh Market. I first discovered her offering little morsels of food ethics in 140 characters or less over on twitter, and had the pleasure to enjoy a meal from her delicious local, sustainable, ethical menu before she closed Bird Cow Fish. This is a talk Alex posted on Facebook yesterday that struck me as a beautiful reflection on the meaning and value of local food, and a great contribution to the discussion here on Food Ethics. You can follow Alex on twitter where she’s @birdcowfish.Â
I was asked to give a little talk at the Sustain Northern Rivers Forum the other day. It went something like this….
“To bee or not to bee? That is the questionâ€
There was a young woman called Sarah, say in her early thirties who had taken up the practice of ceramics many years before. She had been taught by a master and had acquired rapidly diminishing skills. Her work was unique.
She had held down several jobs at once to try to make ends meet but she had now decided that she wanted to concentrate on her ceramics full time and pass on her skills and knowledge. She was faced with the new challenge of trying to make a living solely from her craft which she had studied and practiced for many years.
She created a series of beautiful plates but when it came to deciding what price to sell them for she was at a complete loss so she asked the advice of a friend. This friend knew nothing about the value of ceramics but she responded with a series of questions.
“Tell me, how much money do you want or need to make a year? $65,000
“Now tell me how many weeks a year do you wish to work? “I’d like to have four weeks off a year.
“How many days per week do you wish to work?†Well I would like to try to only work 4 days per week.
So you need to make $340 dollars per day after costs.
How many plates can you make per day?
I could probably make 10 plates per day by the time I do all my other stuff and each plate costs me about $10 in materials.
Right so you need to sell $440 of plates per day. So that’s 10 plates, so each plate needs to cost at least $44
The young woman was shocked. She thought no one will pay that for my plates?
The Food Industry like the Arts is one that is built upon a whole heap of passion.
All the way along the Food Chain we can hear the wonderful stories of how people came to be involved in it. And when I speak of the food chain I am referring to all the elements that link the food from the farm to the table.
Many are born into the family business whilst others like myself seemingly fall haplessly into it then only later realize that the love as in my case for cooking was in fact always there bubbling away below the surface.
Of course there are two parts to the Food Chain. There is the Boutique and the Mainstream. Each however faces the challenges of “sustainability†which I will take as meaning being able to survive economically, socially, environmentally and politically.
One of the problems facing many “ Boutique†producers is just how much do many subsidise their product through their passion. How many days a week do most small business owners work?
One of the questions that hang over more mainstream, commercialized operations is just how much are other factors such as the health of the land and its people subsidizing the product? The horror stories of Indian farmers taking their lives because of being locked into seed contracts with Monsanto despite failed crops and escalating debt is an extreme but real example of what can go terribly wrong when profits are put before everything else.
So despite these two extremely different scenarios one question is still appropriate to both.
What is the True cost of food?
What are the long term risks that we face?
Well we know that farmland is getting scarcer. The lure of property dollar value can be an overwhelming temptation especially when viewed alongside declining margins and the fact that many of our children would rather work 9 -5 on a good weekly wage than become their hardworking parents.
So we are losing land and skills that are going to be almost impossible to get back.
What can we do about it?
Well we can try and take responsibility for it.
We are all part of the Food chain some as producers and distributors but we are all consumers. I am sure there is some old saying that goes something like “good housekeeping starts at homeâ€.
The title on today’s invitation read “Keeping our food localâ€. I would like to propose that it is even more important to “Keep our Local Foodâ€.
I had dinner last night with two friends, Pete and John. They were amongst my original Eveleigh Market customers from over four years ago when the market first started and now they live in Byron.
They moved into their new house in March of this year.
Within a few weeks of moving in they noticed that they had a lot of bees at the back of the house. As the bees swarmed their suspicions were aroused. Finally they found that the wall of the upstairs bedroom was very warm. Very, very warm. So they searched down a bee keeper.
Yari was found and confirmed that there was a hive between the outside brick and inner plaster wall.
The bees had to go.
A fumigator could have done the job but fumigation would have also left behind a trail of dead bees and honey locked away forever.
Yari however offered to remove them and so he was engaged to perform the daylong task of rescuing the bees and their honey.
Bees are precious. We know that they play a crucial part in the pollination process. Yari knows this but he also just loves bees. The bees now live in Nimbin. Over 10kgs of honey comb was gathered and shared from a hive that had been growing for years. Peter has wonderful pics of everyone from the day sitting around diving out the honey comb. The wall has been plastered up.
Yari returned for two more visits following the initial rescue to collect the straggler bees. Small swarms of bees collected over the subsequent days. Peter has pictures of them attaching themselves to the wall where the hive used to be. Hiveless, Queen less bees. It was so sad. Yari managed to collect many of these but the remaining died.
So this is a pretty good example of local food right?
It’s a really good example of preciousness that had no money value attached to it. ….Priceless in other words.
How do you put a $ value on saving some bees and sharing some honey?
How do you put a value on cooking a meal? (I will come back to this later)
When I had my restaurant Bird Cow Fish I held many Regional Food and Wine Dinners. They were wonderful dinners where we were able to showcase producers and products that weren’t ordinarily available to us. These dinners along with having been a Delicious Produce Awards judge for the last three years has exposed me to many wonderful local foods.
So here is my take on local food. On a micro level it is imperative that we support out local producers but I do not believe that it should be at the exclusion of other “local foodsâ€. I’m not an exponent of the 100mile ONLY rule.
Sourcing, selling and eating local foods means we are more likely to have a direct relationship with those who have grown it. We are more likely to know their story. We are more likely to place greater value on that product simply because we are connected to it.
Supporting local food provides these producers a base from which to build from. It can create an acknowledged Food Bowl, community of collaboration and support.
Supporting local food also means that the elements in the food chain are reduced. The less hands involved in the process generally means the smaller the gap between what the primary producers earns and the final cost of the sale product.
That being said I also believe in supporting all local foods and not just those that are local to me (easier said for me as I live in a city). But the reason for my thinking is not just because of my circumstance but because diversity is important as is promoting regions who specialize in certain foods. The sustainability of many producers’ business means that they cannot limit themselves to only supplying a local market. Finding a like minded distributor can be the key. Feather and Bone in Sydney are an excellent example of a distributor who works with his producers to educate and distribute the product.
But transportation and logistics are a huge challenge. I remember on of my dinners The Hilltops Region in NSW with Brian Freeman’s wines I wanted to use this magnificent Texel lamb. I did eventually get it but not until bob had dropped it at his mates place Len who then took it to Max at the pub and then Joan his wife who was driving to Sydney delivered it to me. The most gorgeous lamb that was being sold at the local supermarket with no hint of its origins or quality.
Wendell Berry, a highly regarded writer and farmer who lives in Kentucky in the US said “Eating is an agricultural Actâ€.
I think that one of the main keys to local food is not just supporting what is local to you but also wanting to know the story. Where has my food come from regardless if it is from over the fence or across the river? What makes it taste so good? Why does it perhaps cost more than other like products? What makes it valuable?
These are questions as a chef that I am used to asking my suppliers.
I now cook breakfast and stuff at the weekly Eveleigh market in Carriage works at Redfern in Sydney. I am surrounded by producers. The products that I use in the food that I produce are all sourced from the market. My customers ask me all the time whose eggs do you use? Whose bread? Whose milk? Just as much as they ask me HOW I made something.
They are interested in the stories like the wonderful collaboration between John Fairleigh from Country Valley Milk and Pierre from Pepe Saya butter who uses his cream. These two me are a wonderful example of how local producers are working together to value add to their products, educate the end consumers and have a lot of fun along the way.
I firmly believe that education is the key.
Educate people about the product and how to use it.
Michael Pollan in his book “Cooking†argues that “To cook is to vote†To cook at a time when one doesn’t have to is to make a conscious decision to be a producer and not just a consumerâ€
So back to “To be or not to beâ€
“To cook or not to cook†perhaps that is the question?
For me as a chef I agree with Pollan. I believe cooking is empowering. It means that I am in control. I can feed myself and my family. But this food security is dependent upon being able to source food locally, regardless of where I am.
As Wendell Berry said in his Jefferson speech, it turns on affection, 2012 “There is no distinction between the fate of the land and the fate of the people. When one is abused the other suffers.â€
The value of being able to shop for locally produced food, the value of being able to cook, the value in sharing a meal are all part of belonging to a community. Its hard to put a dollar value on these attributes but one that we need to if we are going to preserve them.
So back to our lady friend Sarah who wanted to make plates.
She realized that if she wanted to make her plates for a living that it had to be sustainable. She had to be able to support herself. She couldn’t just do it because she was passionate about it.
She had to understand what the true cost of her time was in the making of the plates. She had to appreciate and value the time and energy that she had put into learning her craft over many years.
She had to accept that the market for her plates was probably going to be quite small as she was only a very small artisan producer and could not compete with the larger, industrialised producers of similar but not the same plates.
New markets could be found but only through communicating her story to a wider audience. She needed to educate them as to why her plates were so special and worthy of their price tag.
And when she did all this suddenly her plates didn’t seem so expensive any more because she had taken into account their TRUE value.
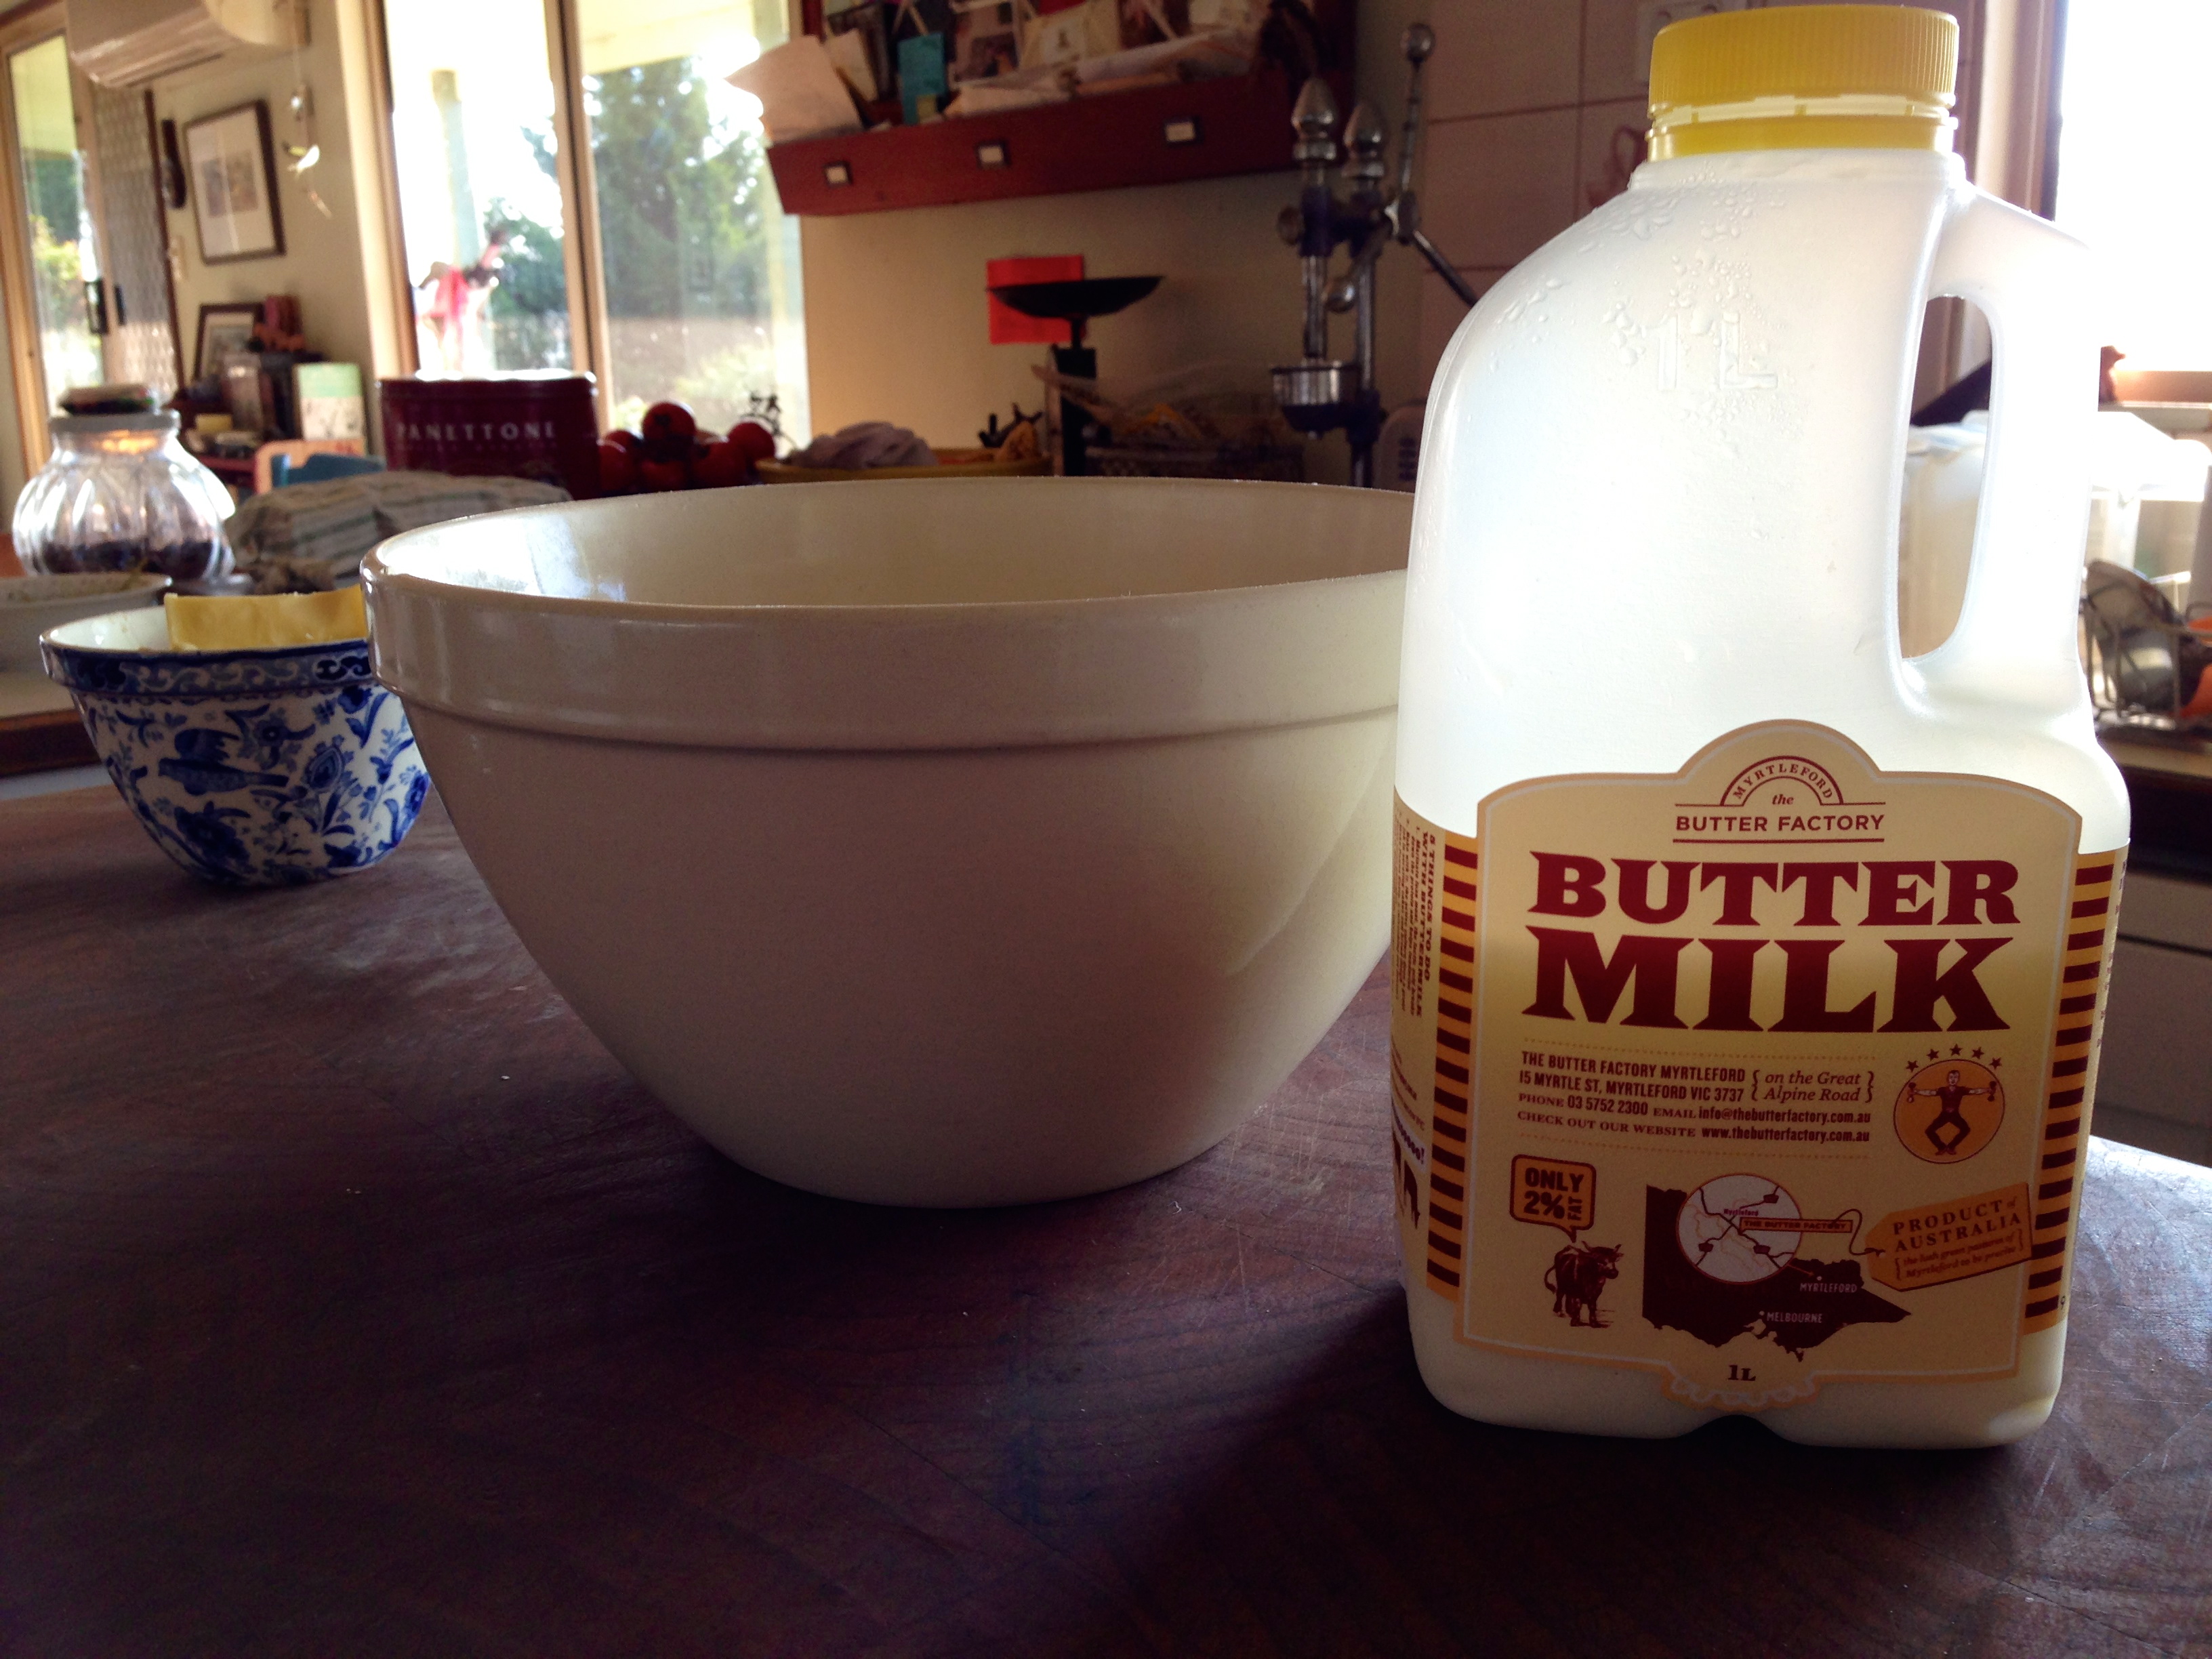
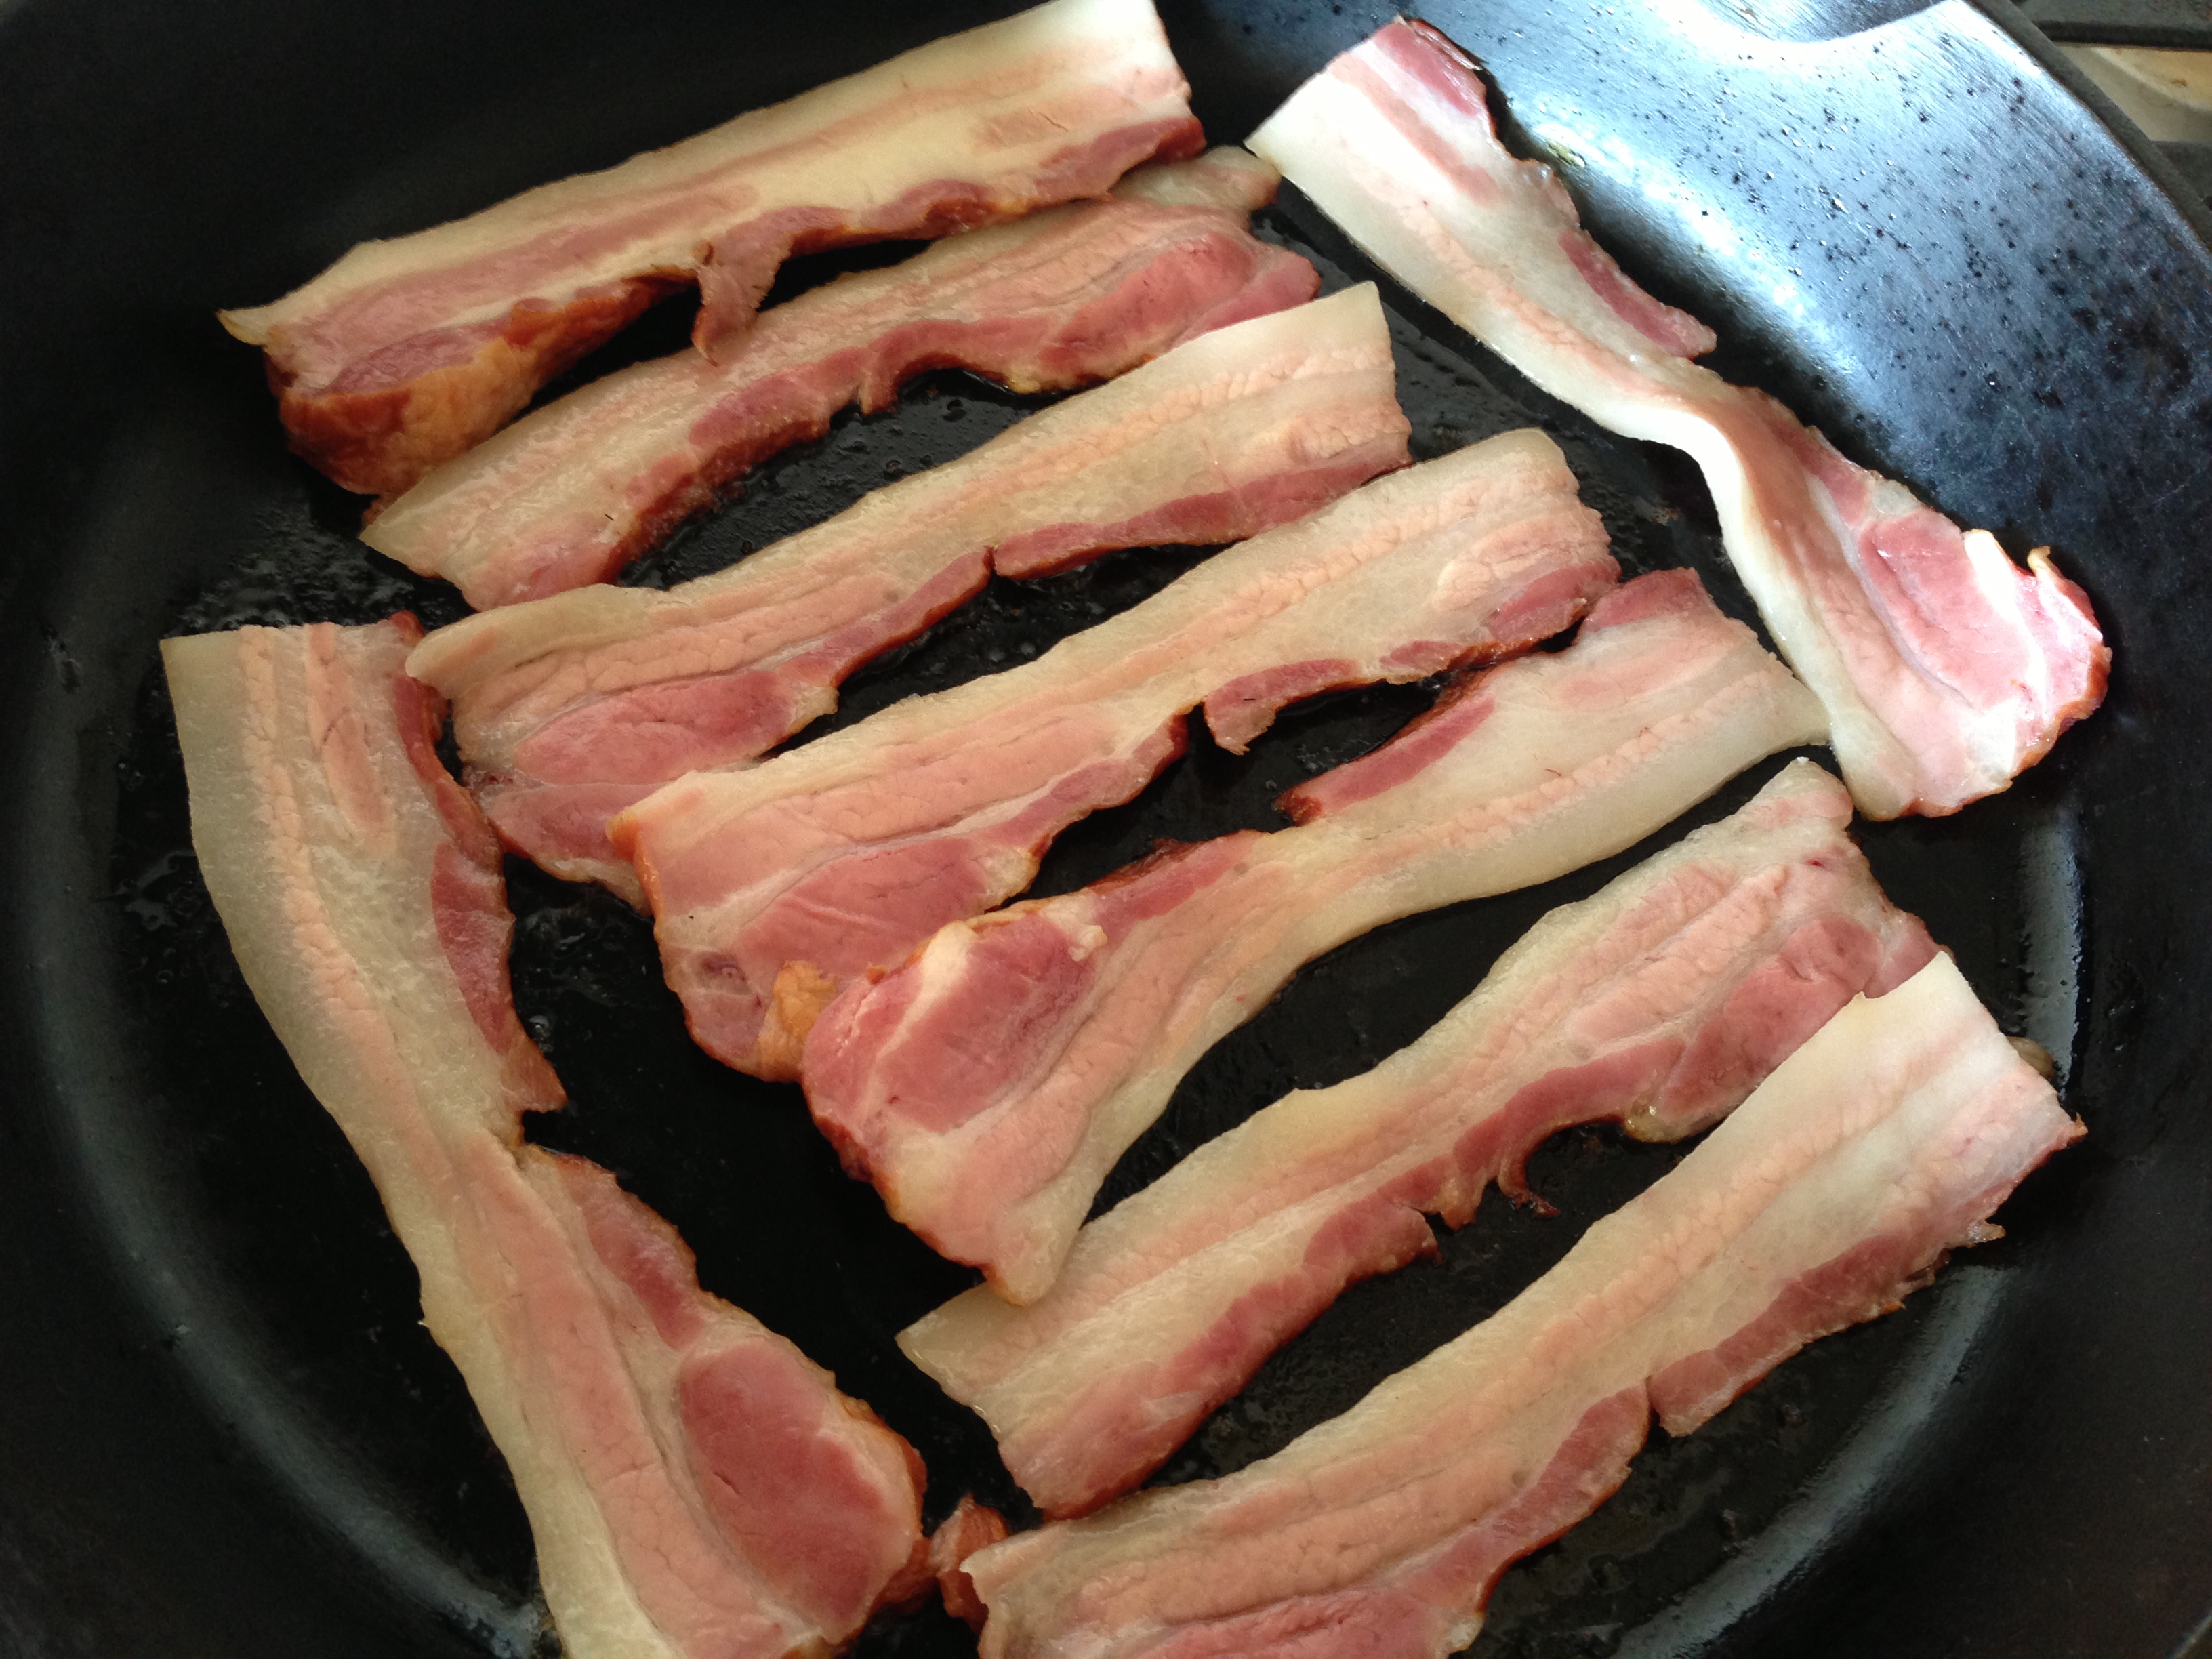
 Australian scones slightly bewildered me when I first arrived here 21 years ago – ‘so they’re biscuits, right?’ But as I’ve shared in my locavore bacon & eggs, biscuits & gravy recipe, they may be virtually the same recipes, but they are eaten in very different ways, with very different things. And so having given you my savoury brekky biscuit recipe already, I will now share a savoury American scone recipe just to really confuse you. 🙂


